

How To Create A Mock Website In Powerpoint
How Microsoft PowerPoint Can Be Your Favorite Mockups Tool
![]()
If you are a software developer, a product manager, or an entrepreneur developing a mobile app or a website — you probably spend a decent amount of your time designing mockups.
While Photoshop, Sketch, Balsamiq (and others) are great — Microsoft PowerPoint is the one I actually prefer for designing new functionalities.
Here's how you can turn PowerPoint into a designing tool:
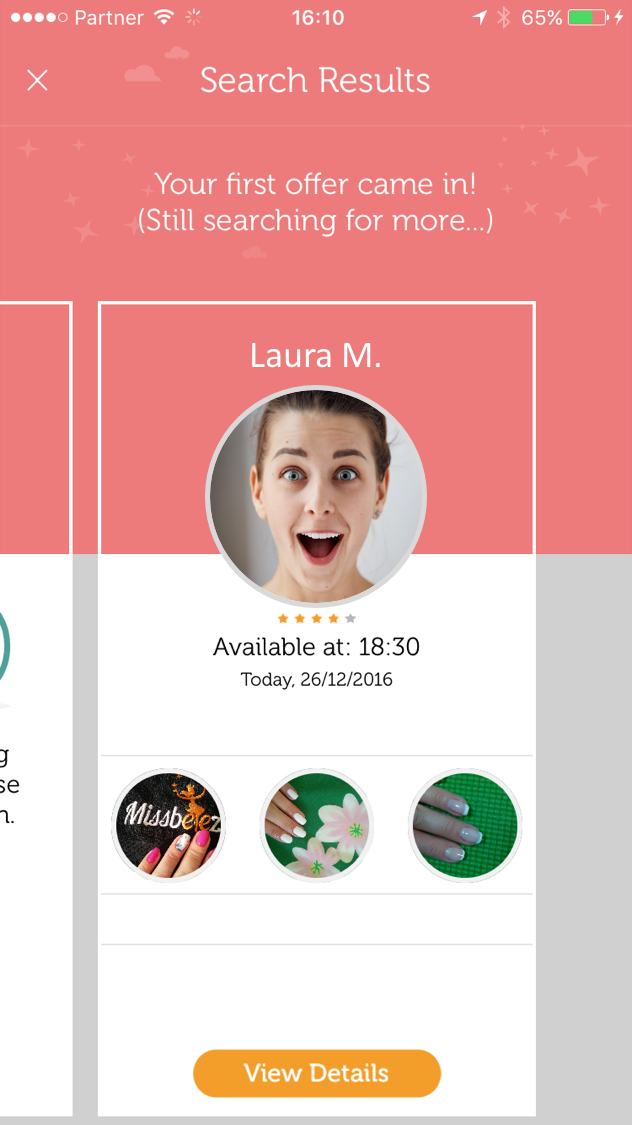
1. Start with some screenshots
The first thing to do is take a bulk of screenshots from your app.
Note: if you are designing a completely new product you can other apps as your reference to size, fonts, and layout.
Make sure to capture elements you can reuse in your new designs, even when working on new completely new screens.
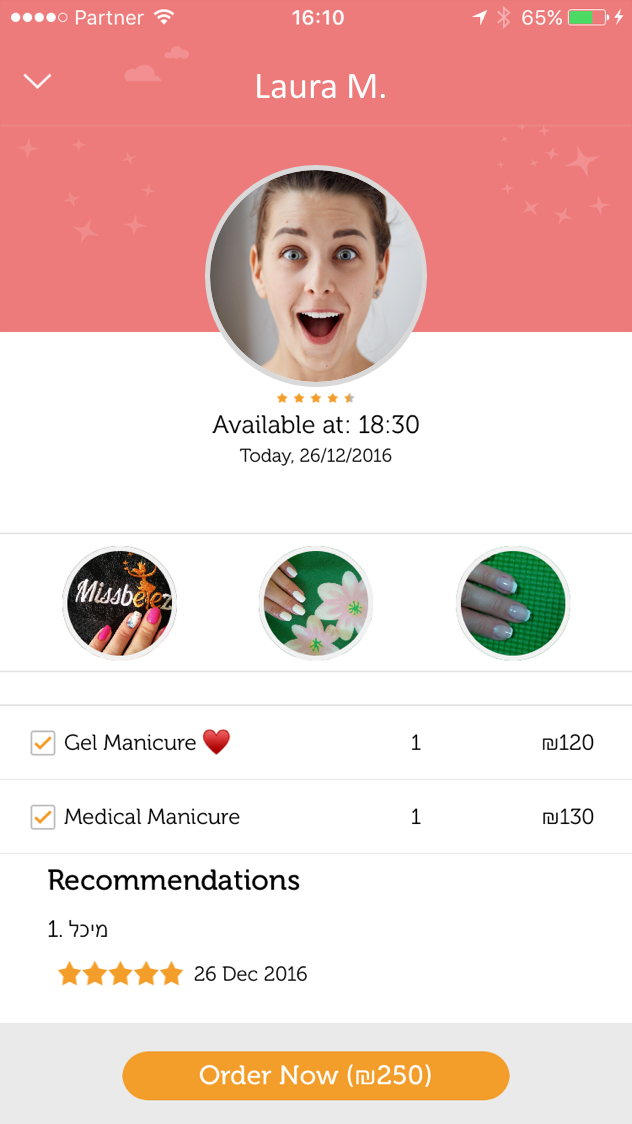
2. Paste your screenshots on blank slides
Paste the screenshots on a PPT blank slides with no template.
If you are pasting mobile screenshots let them fit the slide height. This is the best way to keep one size to all mocks.
3. Do your magic
Now it's time to modify these images and create your mocks:
- Hide unnecessary elements by placing blank rectangles on top of them.
- Duplicate elements and crop them to move objects around.
- To modify or add text areas, add text boxes. Make sure to fit the font style and size to make those boxes look like in the original app. I usually save a few examples on the side as a backup.
- Add graphical objects (lines, arrows, icons, etc.), copy, paste & move them, until you are happy with the results.
Here are some time saver tips & tricks:
- Reorder layers by using 'Bring to front' & 'Move to back'
- Copy parts of your UI by using the 'Crop' tool (in the 'Picture Format' tab).
- Color your new elements with the original colors of your app by using the 'Color Inspection Tool'.
- Align elements using the 'Align' options.
- Distribute elements with equal spaces using the 'Align' -> 'Distribute' tool
- Group few elements together to move or copy them as one bundle
Eventually you end up with lots of small elements (created or copied from your original designs) that help you compose your mocks.
PowerPoint makes it so easy to create & redesign mocks, you no longer need a designer to visualize your creative thoughts.
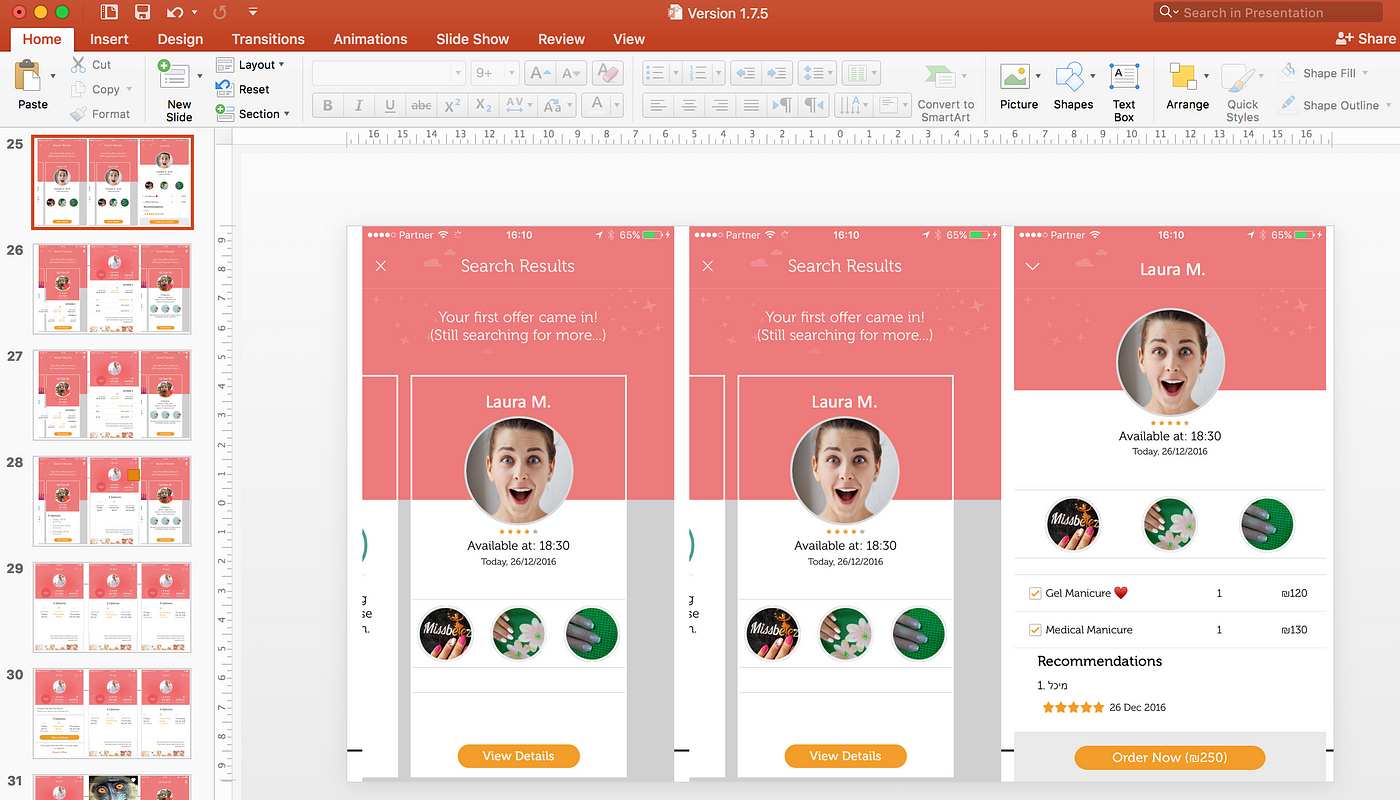
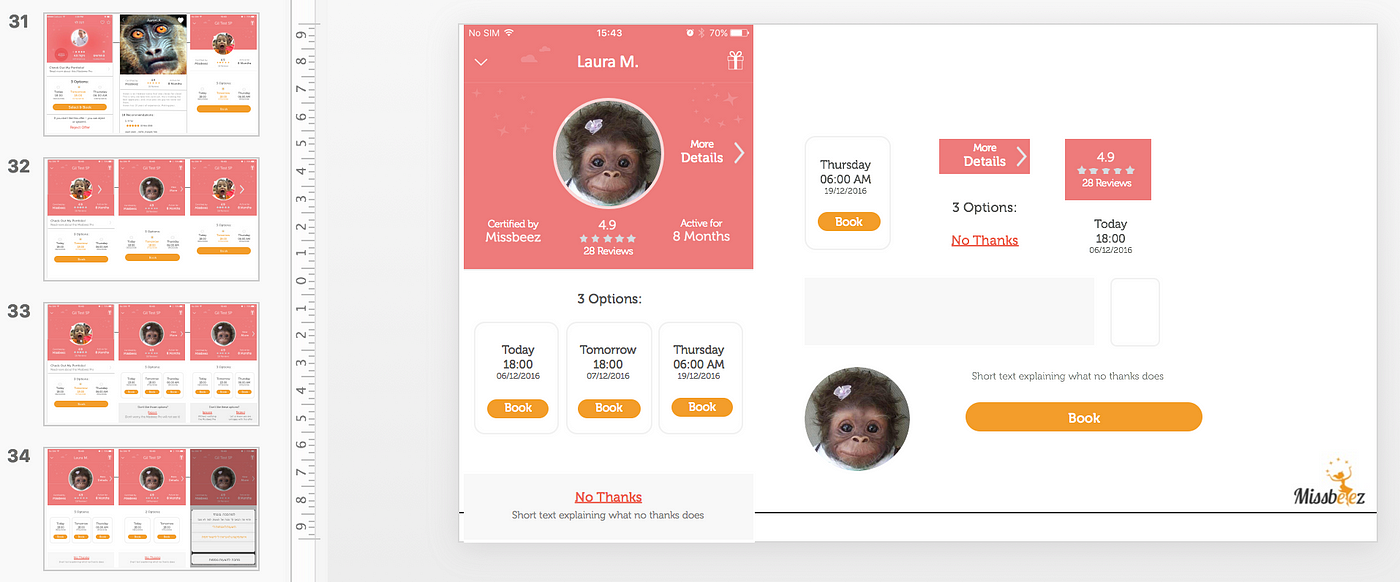
4. Duplicate your slides
Every change you make to your mocks is a perfect excuse to duplicate the slide. This way you can compare different design directions without having to manually show and hide layers.
I usually place 2–3 mobile screenshots on each slide and end up with 10–15 slides.
Once I have enough options, I ask for initial feedback from users and colleagues.
If you are good in what you do, most of them will select your favorite option.
5. Optional: Hyperlinks
Using PowerPoint's hyperlinks — you can create interactive mockups by linking buttons to other slides. This is a great capability for demonstrating a workflow.
6. Show off your work
Presenting your work using PowerPoint's slideshow is trivial and useful when presenting to your team, but the interesting part is to take those mocks back to their original environment: tablets or smartphones (see next section).
7. Back to mobile
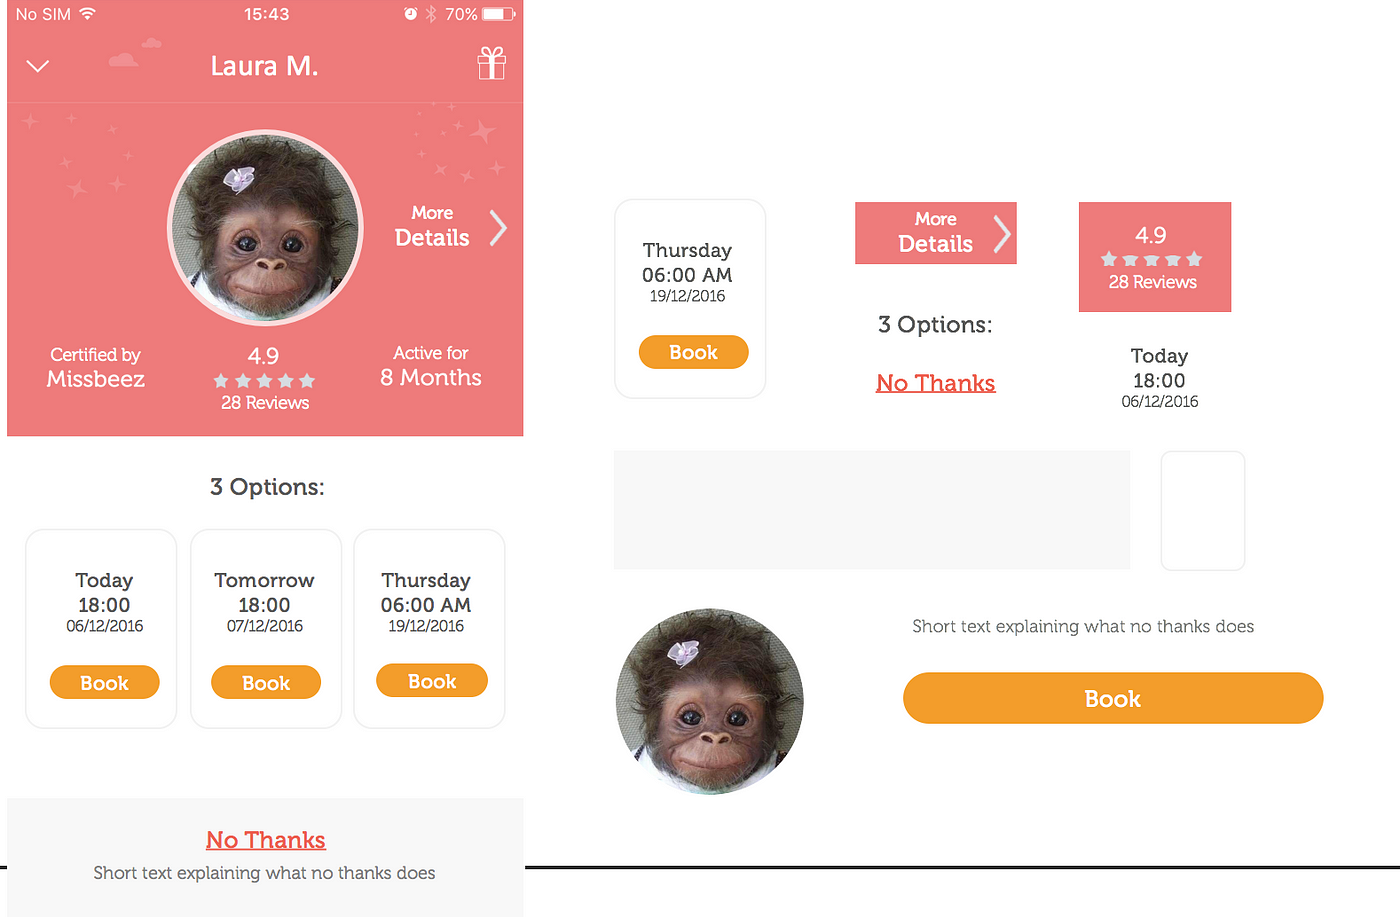
I never create or approve any new design without testing it on mobile first, even if I got it from our amazing designer. Things that look great on a big screen can easily look too small or crowded on smartphones.
With PowerPoint you can select multiple elements and group them. This group can be saved as a picture that you can easily send to your mobile device and see how your mocks look and feel like on a real environment .
This step is crucial in order to check font sizes and overall usability.
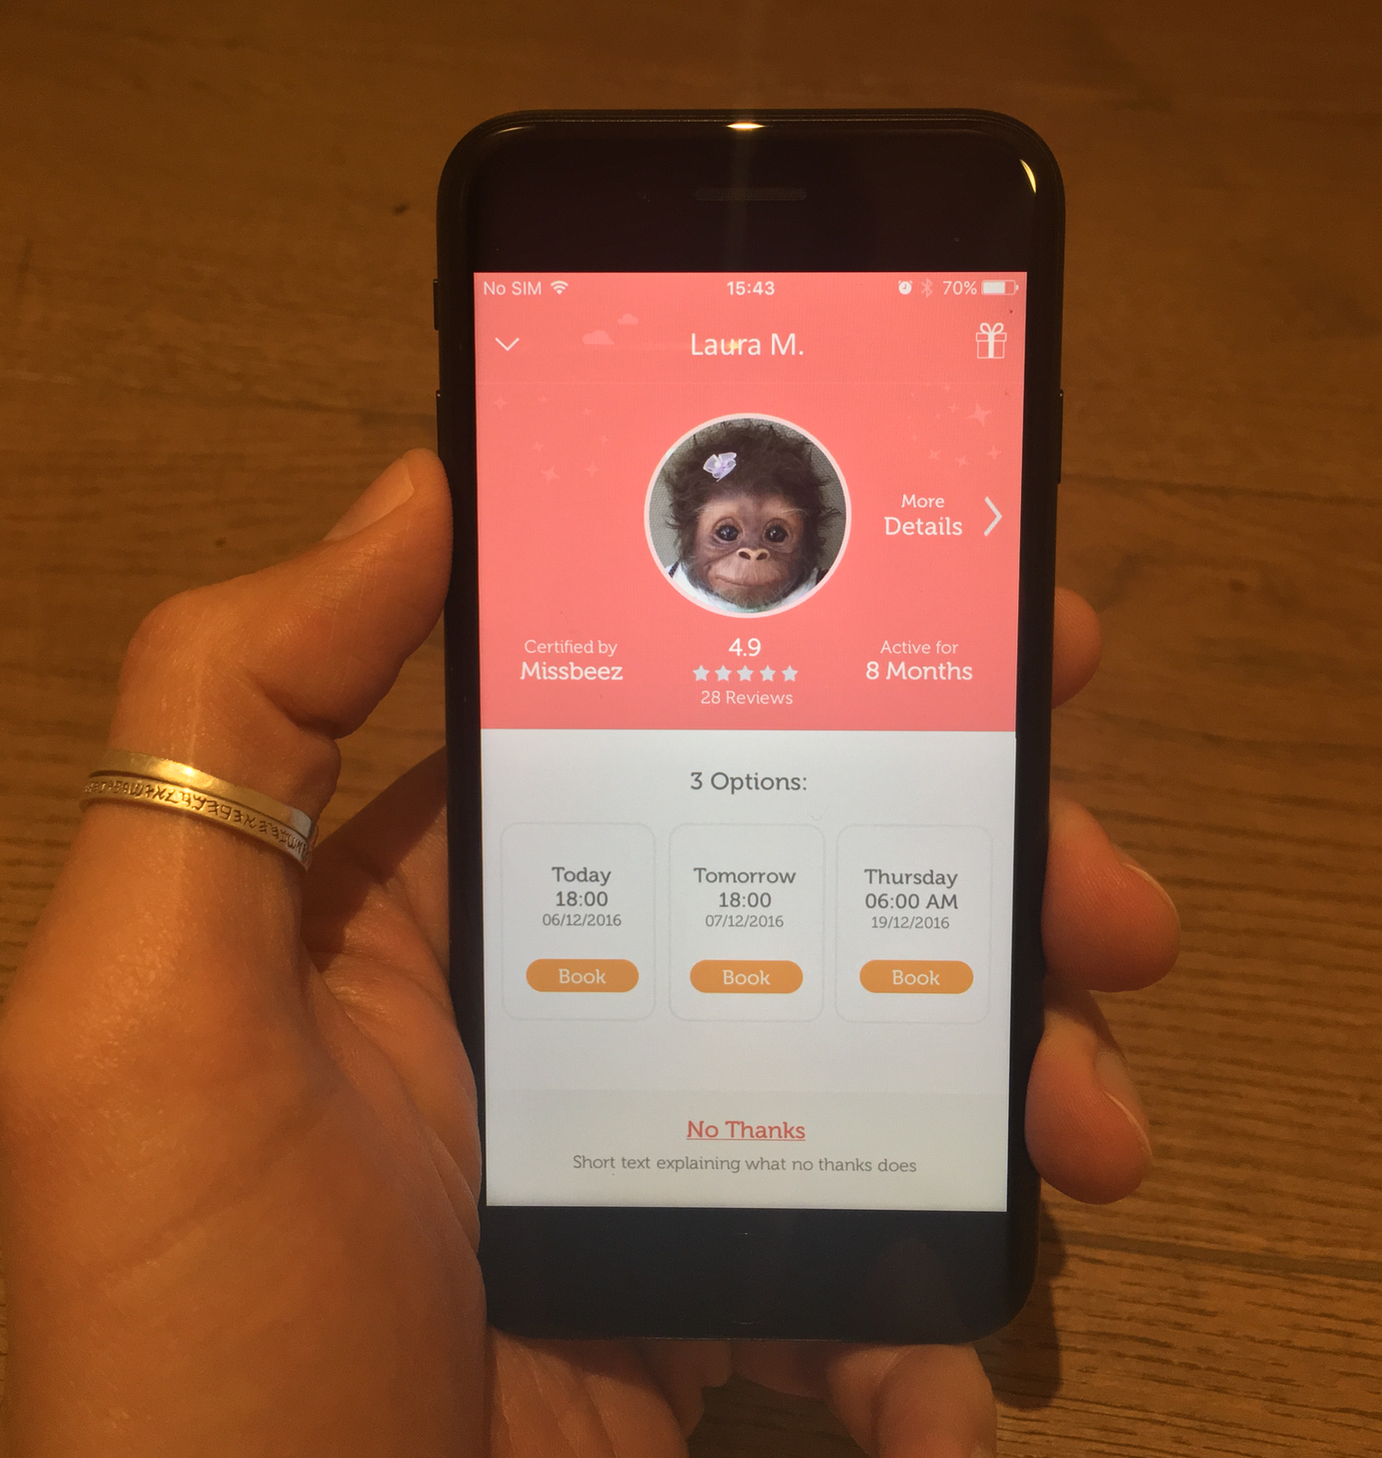
The screenshots in this post are taken from the work on the Missbeez App.
This article was originally written for the mobile spoon — home of my occasional blurbs and tips about mobile development, product management, UI, UX and more.
How To Create A Mock Website In Powerpoint
Source: https://medium.theuxblog.com/how-microsoft-powerpoint-can-be-your-favorite-mockups-tool-3a23eb655702
Posted by: burkeknearot.blogspot.com
0 Response to "How To Create A Mock Website In Powerpoint"
Post a Comment